


Use NGINX’s limit_req (leaky-bucket style) to throttle request rate and limit_conn to cap concurrent connections. Create separate zones per use-case, tune burst and nodelay for user experience, and return 429 with a Retry-After header. Start in dry-run, watch logs, then enforce. For identity-aware limits, key by API token or a JWT claim (native with NGINX Plus; via njs/Lua on OSS).
Why rate limiting matters for APIs in 2025
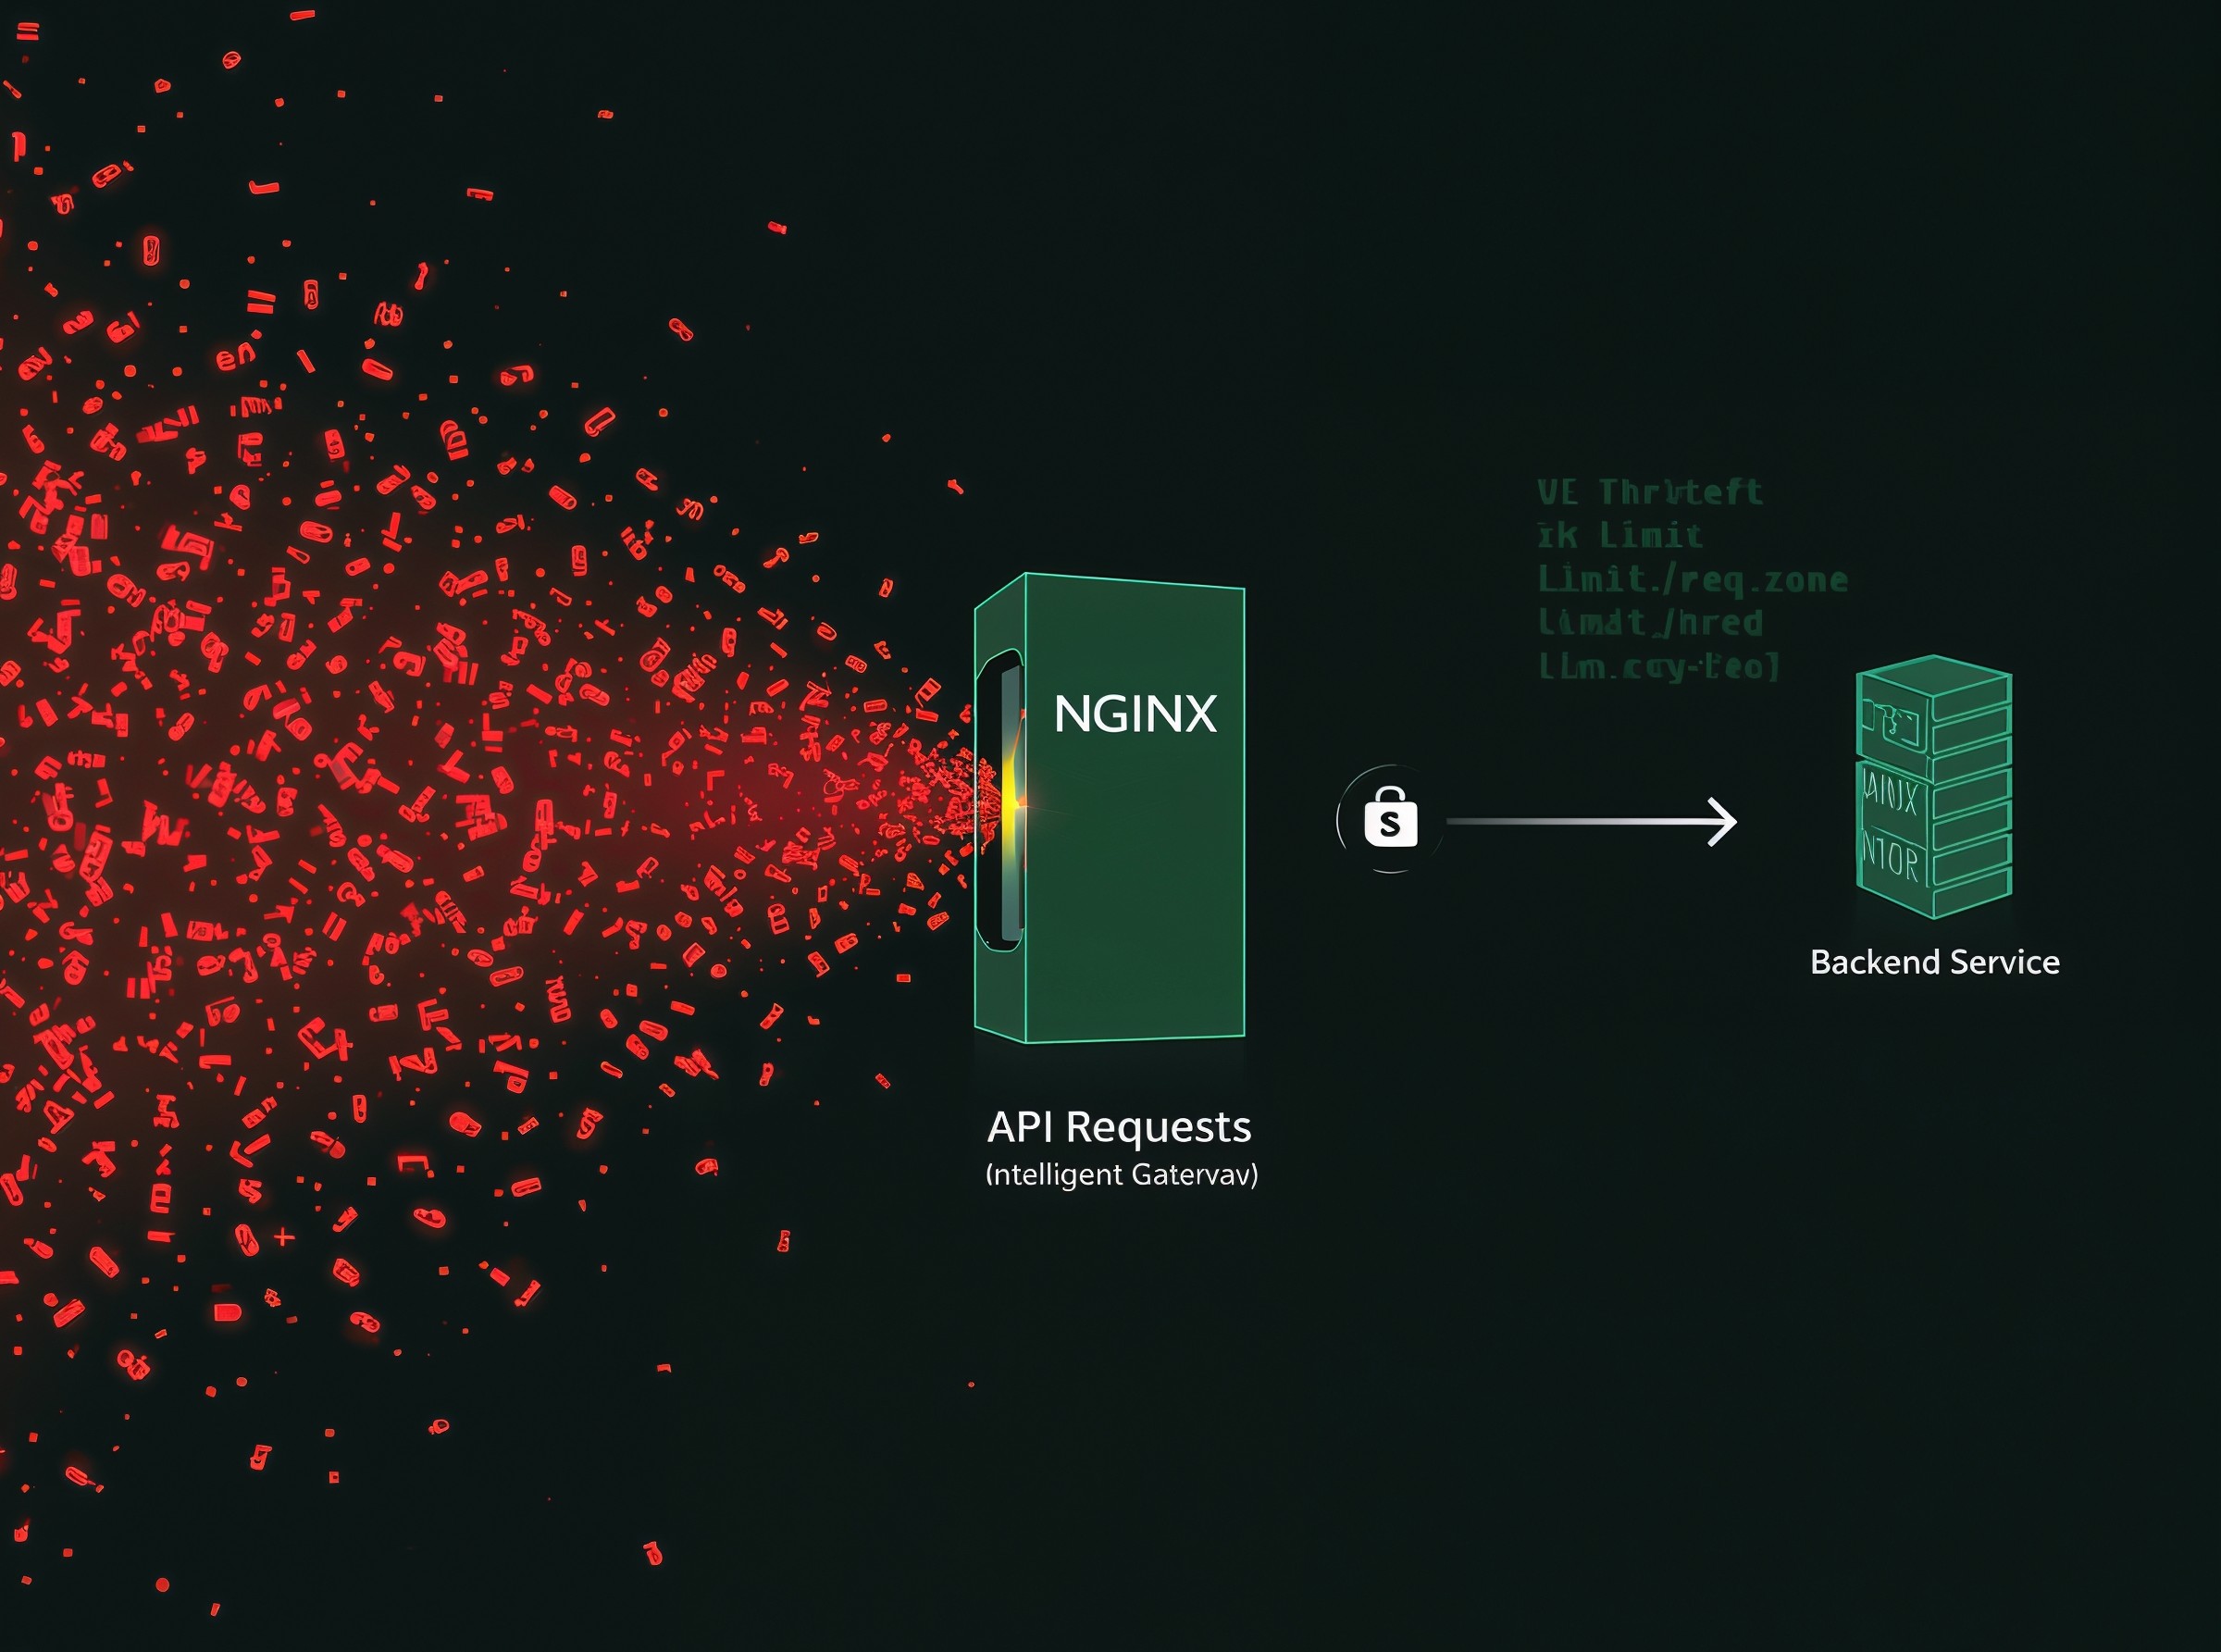
APIs fail in two ways: sudden spikes flatten capacity, or abusive clients squeeze out everyone else. Rate limits act like circuit breakers. They smooth noisy neighbors, shield downstreams, and give you predictable budgets per client, route, or plan. On NGINX, you have two levers. First, limit_req regulates request rate (how many per second/minute). Second, limit_conn caps simultaneous connections (how many sockets a client can hold). Use both: rate for bursty abuse, connections for slow-loris style pain. Because the controls sit at the edge, you protect origin apps without rewriting code, and you standardize behavior across microservices.
How NGINX rate limiting actually works
Limit_req implements a leaky-bucket algorithm in shared memory. You define a key (per IP, per API key, or per route), assign it to a zone with a rate, then apply the limit in server/location. When traffic exceeds the rate, NGINX queues a small burst or rejects excess immediately (nodelay). Limit_conn tracks simultaneous connections per key and rejects when the cap hits. Both modules can run in “dry run” so you can measure violations before you block anyone. Because zones live in shared memory, NGINX enforces budgets at worker scale without external state, which keeps latency flat.
Choosing the right key: per-IP vs per-identity
Anonymous endpoints often use $binary_remote_addr as a good default. However, per-IP breaks behind NATs and cell carriers. Authenticated endpoints should prefer identity-aware keys: an API token in a header, or a field from a JWT. On NGINX OSS you can map $http_x_api_key (or extract from Authorization) to a variable and key the zone on that variable. If you run NGINX Plus, you can parse JWT claims natively and key on a claim like sub or tenant. When in doubt, fall back to IP so you still have a budget, but move to per-identity as soon as you authenticate users.
Define clean zones and budgets (with memory sizing)
You get better control when you separate zones by route/class. Give /auth a tight budget, keep cached reads generous, and reserve a special pool for partners. Size zones for the number of distinct keys you expect. Because each state consumes fixed bytes per architecture, plan headroom and avoid evictions. In practice, a few megabytes per zone supports thousands of distinct keys comfortably. Measure and adjust as adoption grows.
Snippet pack 1 — per-IP limits for anonymous endpoints
Start with a simple per-IP limit for a public endpoint. The example below limits /api to 10 requests/sec per IP with a 20-request burst, fails fast above burst, and returns a JSON 429 with Retry-After.
{
# Shared zone for per-IP budgets (10 r/s average)
limit_req_zone $binary_remote_addr zone=ip_api:20m rate=10r/s;

server {
    listen 443 ssl;
    server_name api.example.com;

    # Custom JSON 429 and Retry-After
    error_page 429 = @rate_limited;

    location /api/ {
        # Enforce per-IP rate
        limit_req zone=ip_api burst=20 nodelay;
        limit_req_status 429;
        limit_req_log_level warn;

        # (Optional) start in dry-run, then remove after tuning
        # limit_req_dry_run on;

        proxy_pass http://upstream_api;
    }

    location @rate_limited {
        default_type application/json;
        add_header Retry-After 30 always;
        return 429 '{"error":"rate_limited","retry_after":30}';
    }
  }
}
Why nodelay? For interactive clients, queuing can create weird pauses. Nodelay serves the allowed burst immediately and rejects the rest cleanly so clients can back off. For batch clients, remove nodelay and let NGINX queue a small burst to smooth short spikes.
Snippet pack 2 per-token limits for authenticated APIs (with fallback)
Key by API token when available; otherwise fall back to IP so anonymous users still face limits. This pattern avoids starving NATed offices while protecting your cluster from key-sharing abuse.
{
# Map incoming API key to a limit key; fallback to IP when missing
map $http_x_api_key $limit_key {
default $binary_remote_addr;
"~.+"
$http_x_api_key;
}
# Shared zone keyed by $limit_key (per-token when present)
limit_req_zone $limit_key zone=token_api:20m rate=60r/m;
server {
listen 443 ssl;
server_name api.example.com;
error_page 429 = @rate_limited;
location /v1/ {
limit_req zone=token_api burst=30;
limit_req_status 429;
proxy_pass http://upstream_api;
}
location @rate_limited {
default_type application/json;
add_header Retry-After 60 always;
return 429 '{"error":"too_many_requests","retry_after":60}';
}
}
If your tokens ride in Authorization, you can extract them into a variable with map and a simple regex, or use njs/Lua to decode a JWT and set a variable you key on. On NGINX Plus, you can also pull a specific claim (like sub or plan) and rate-limit per tenant natively.
Snippet pack 3 combine limit_req and limit_conn for real abuse
Rate limits won’t stop connection hoarders. Add a small connection cap to block slow-loris behavior on chatty or streaming endpoints while keeping rate limits for true request floods.
{
limit_req_zone $binary_remote_addr zone=ip_api:10m rate=10r/s;
limit_conn_zone $binary_remote_addr zone=perip_conn:5m;

    server {
    listen 443 ssl;

    location /api/stream/ {
        limit_conn perip_conn 5;           # cap concurrent sockets per IP
        limit_req  zone=ip_api burst=10;   # throttle request rate too
        proxy_pass http://stream_upstream;
    }
  }

}
Returning the right 429 (with Retry-After)
Developers react better to honest responses. Always return 429 for rejections and include a Retry-After header in seconds. Because NGINX only sets headers on certain status codes by default, append always to add_header so your header appears on non-2xx responses. Use error_page to route to a small JSON body and keep your upstream out of the hot path. If you expose X-RateLimit-* headers, generate them in your app or a gateway layer; NGINX’s built-in variables do not track remaining quota for you automatically.
Burst vs nodelay: UX and fairness
Burst adds a tiny queue in front of your rate bucket. NGINX drains that burst at the configured rate, which smooths short spikes from well-behaved clients. Nodelay serves the burst immediately and rejects above it; that pattern works well for human-driven interactions where queuing feels broken. For background clients, prefer burst without nodelay so transient spikes ride the queue. Either way, keep the burst small and per-route; a giant global burst masks real pressure and hides the need to scale.
Dry-run, rollout, and monitoring
Flip limit_req_dry_run on during the first week. You’ll see “excess” counters climb without blocking users, and you can tune rates and bursts using logs and dashboards. Promote to enforce on low-risk routes first, then tighten high-risk endpoints like /auth and /cart when you’re confident. Watch your 4xx mix, p95 latency, and error budgets. When rejections spike in one zone, you may have a hot spot or a compromised key—act before incidents escalate.
Observability and hot-spot detection
Instrument your edge like any other service. Add $limit_req_status to your log format so you can plot PASSED, DELAYED, and REJECTED counts by zone. Break out metrics per route and per customer plan if you key by token. If you operate NGINX Plus, scrape shared-memory zone stats over the NGINX API and alert when rejections sustain for minutes. On OSS, parse logs and build the same views in your APM. The goal stays simple: learn where pressure lands, then decide whether to tighten policy or scale capacity.
Edge cases and pitfalls (and fixes)
Don’t short-circuit the access phase. If you “return” early in rewrite or redirect requests before your limit_req directive runs, you skip throttling entirely. Keep rate limits in the same location that proxies traffic or in the enclosing server block so they reliably trigger. When you sit behind a CDN or load balancer, prefer identity-aware keys over IPs so NAT doesn’t collapse budgets. For Kubernetes users, check your Ingress controller’s feature set: claim-aware keys typically require NGINX Plus; on OSS, approximate with njs/Lua. Finally, remember that caching interacts with limits. If you cache a heavy endpoint, consider applying limits on the uncached route to protect the origin and avoid double-counting cache hits.
A safe rollout plan you can copy today
Start by auditing your endpoints. Classify them into three buckets: authentication (tight), interactive reads/writes (balanced), and background/batch (lenient). Create one zone per bucket so you can move fast without reopening a global change. Enable dry-run on all buckets, deploy, and wait 24–48 hours. Then review violations, adjust rates and bursts, and flip a single bucket to enforce. Announce timing to developers and partners, and publish a short client-side backoff guideline: handle HTTP 429, respect Retry-After, and stop exponential retries during incidents. Within two weeks you’ll have stable budgets, cleaner logs, and far fewer “API is slow” tickets.
Security notes that pay off
Attackers rotate IPs; key-sharing happens. Pair per-IP caps with per-token budgets so one compromised key can’t drain the pool. Quarantine offenders quickly: when a key trips limits repeatedly, raise a WAF rule or disable the key in your identity system. Keep a partner allow-list with higher ceilings but strict audits and contact paths. For login and password reset routes, set conservative rates, and consider blocking legacy user-agents that ignore Retry-After and keep hammering.
FAQs
What’s a good default rate for login endpoints?
Start tight, for example 5–10 requests/second per IP and a small burst. Balance bot pressure with real UX by testing on mobile and low-latency networks. If you authenticate users, prefer per-account or per-device budgets over global per-IP to avoid punishing NATed offices.
Should I queue (burst) or fail fast (nodelay) for mobile apps?
Fail fast with a small burst for interactive taps, because queuing creates stutter and duplicate taps. For background sync, let a small burst queue and drain at the configured rate so clients complete work without retries.
How do I show clients when to retry?
Return HTTP 429 with a Retry-After header in seconds. Keep the JSON body small and stable; document it in your developer portal. Clients should back off gracefully and avoid retry storms during incidents.
Can I rate-limit by user without NGINX Plus?
Yes. On OSS, map $http_x_api_key to a variable, or extract a token from Authorization with map or njs/Lua, then key your zone on that variable. On NGINX Plus you can read JWT claims directly and rate-limit per tenant or plan natively.
How do I test safely in staging?
Turn on dry-run and simulate with a load tool. Watch logs for DELAYED_DRY_RUN and REJECTED_DRY_RUN. Adjust rate and burst until violations fit your expectations, then enforce on a single route. Repeat across buckets.
Why do my headers not appear on 429?
By default, add_header applies only to specific status codes. Add always to force headers on non-2xx, and place add_header in the location that returns the response (for error_page targets, set headers there).


8 thoughts on “API Abuse Defense with NGINX: Best Practices + Snippets”